
Introduction
Using an external hard drive with your Mac’s Photos App can greatly enhance your photo management capabilities. This approach not only expands your storage options but also improves organization and security for your valuable images. In this guide, you’ll discover the benefits and steps involved in integrating an external hard drive with the Photos App. Let’s simplify how you handle your expanding photo collection with these effective tips and solutions.
Understanding the Mac Photos App and External Hard Drive Integration
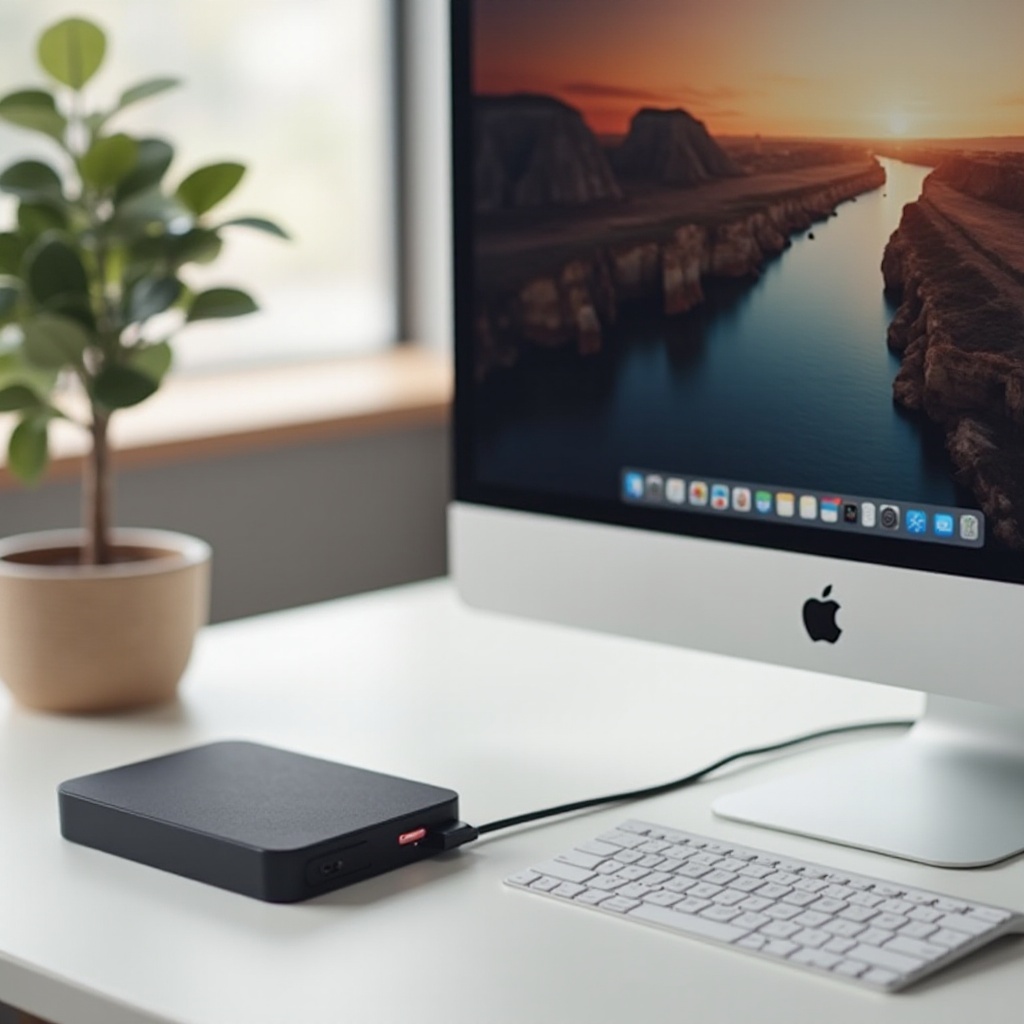
The Photos App on a Mac is a powerful tool for managing your images, offering intuitive organization and editing features. However, storage limitations can quickly become a concern, especially if you’re regularly snapping high-resolution photos or videos. An external hard drive provides a practical solution, lending additional storage and extending the lifespan of your Mac’s internal SSD.
-
Key Features of the Photos App: The app delivers robust editing capabilities, automatic sorting, and easy sharing, syncing seamlessly with iCloud for effortless online backup and access across Apple devices.
-
Benefits of Using an External Hard Drive: External drives offer ample storage, portability, and enhanced data security through physical backups. With the right preparation, setting them up with the Photos App is straightforward.
By understanding these elements, you’re well-equipped to prepare your external hard drive for use with your Photos App. Let’s proceed with the preparation steps.
Preparing Your External Hard Drive for Use with Mac
Before moving your photos, ensure your external hard drive is ready. This involves selecting an appropriate drive and formatting it for macOS compatibility.
-
Selecting the Right External Drive: Considerations include storage size, speed (SSD for faster access), and connectivity options like USB-C or Thunderbolt 3, which provide quicker data transfer. Trustworthy brands such as Seagate or Western Digital offer reliability.
-
Formatting Your Drive for macOS Compatibility:
- Connect your external hard drive to your Mac.
- Open Disk Utility (Applications > Utilities).
- Select your drive and click ‘Erase’.
- Choose ‘Mac OS Extended (Journaled)’ or ‘APFS’ for the format.
- Confirm by clicking ‘Erase’.
Once your drive is properly formatted, you’re ready to transfer your Photos Library. This ensures optimal storage management alongside the Photos App on your Mac.

Moving Your Photos Library to an External Hard Drive
With your drive prepared, it’s time to relocate your Photos Library to conserve internal space and ensure secure access to your pictures.
- Quit the Photos App.
- Connect your external drive.
- In Finder, navigate to the Pictures folder to find the ‘Photos Library’.
- Drag it to your external hard drive.
- Post-transfer, hold Option while launching the Photos App.
- Select ‘Other Library’, locate and choose the library on your external drive.
This effectively moves your library, optimizes internal storage, and ensures ongoing integration with the Photos App. Let’s now explore efficient management of your photos.
Best Practices for Managing Photos on an External Hard Drive
Organization and backup are key for efficient photo management with an external drive.
-
Organizing and Accessing Photos Efficiently: Use folders to separate photos by event, year, or category. Consistent categorization simplifies future access.
-
Tips for Backing Up Your Library: Regularly duplicate your external drive’s library to another drive or a cloud service like iCloud or Dropbox to safeguard against loss.
Proper management keeps your photos orderly and easily accessible, but technical challenges can arise. Let’s address common troubleshooting methods.
Troubleshooting Common Issues
Interfacing an external drive with your Mac might present occasional challenges. Here’s how to troubleshoot effectively:
-
Resolving Connectivity Problems: Confirm all connections are tight. If your Mac doesn’t recognize the drive, try another port or test the drive on an alternate computer.
-
Ensuring Library Recognition by Photos App: If you encounter library recognition problems, ensure that the library is correctly selected during app startup. A simple Mac reboot may also resolve the issue.
These solutions should smooth any rough patches, keeping your external drive integrated with the Photos App. Now, let’s wrap up these insights.
Conclusion
Using an external hard drive with your Mac Photos App is a smart choice for managing your growing photo collection. It saves space and enhances your Mac’s performance, providing a secure and manageable repository for your precious memories. With the steps and tips covered, you’re ready to enjoy a seamless photo management experience.
Frequently Asked Questions
How do I back up my Photos library stored on an external hard drive?
Regularly copy your library to another external drive or use cloud storage, such as iCloud, for added security.
Can I use any external hard drive with my Mac?
While most drives are compatible, they should be formatted for macOS. Prefer drives with USB-C or Thunderbolt 3 connections for faster data transfer.
What should I do if my Mac doesn’t recognize the external hard drive?
Check the connections, try alternate ports, restart your Mac, or test the drive on another device to troubleshoot.